请注意,本文编写于 189 天前,最后修改于 189 天前,其中某些信息可能已经过时。
目录
OpenCvSharp 是 OpenCV 在 .NET 环境中的封装,使得 C# 开发者能够轻松地进行图像处理操作。本文将详细介绍如何使用 OpenCvSharp 进行图像缩放、裁剪和旋转,并展示一些常见的操作示例。
前提条件
在开始之前,请确保你的开发环境已经配置好,并且项目中已经安装了 OpenCvSharp。可以通过 NuGet 包管理器安装:
BashInstall-Package OpenCvSharp4
Install-Package OpenCvSharp4.runtime.win
图像缩放
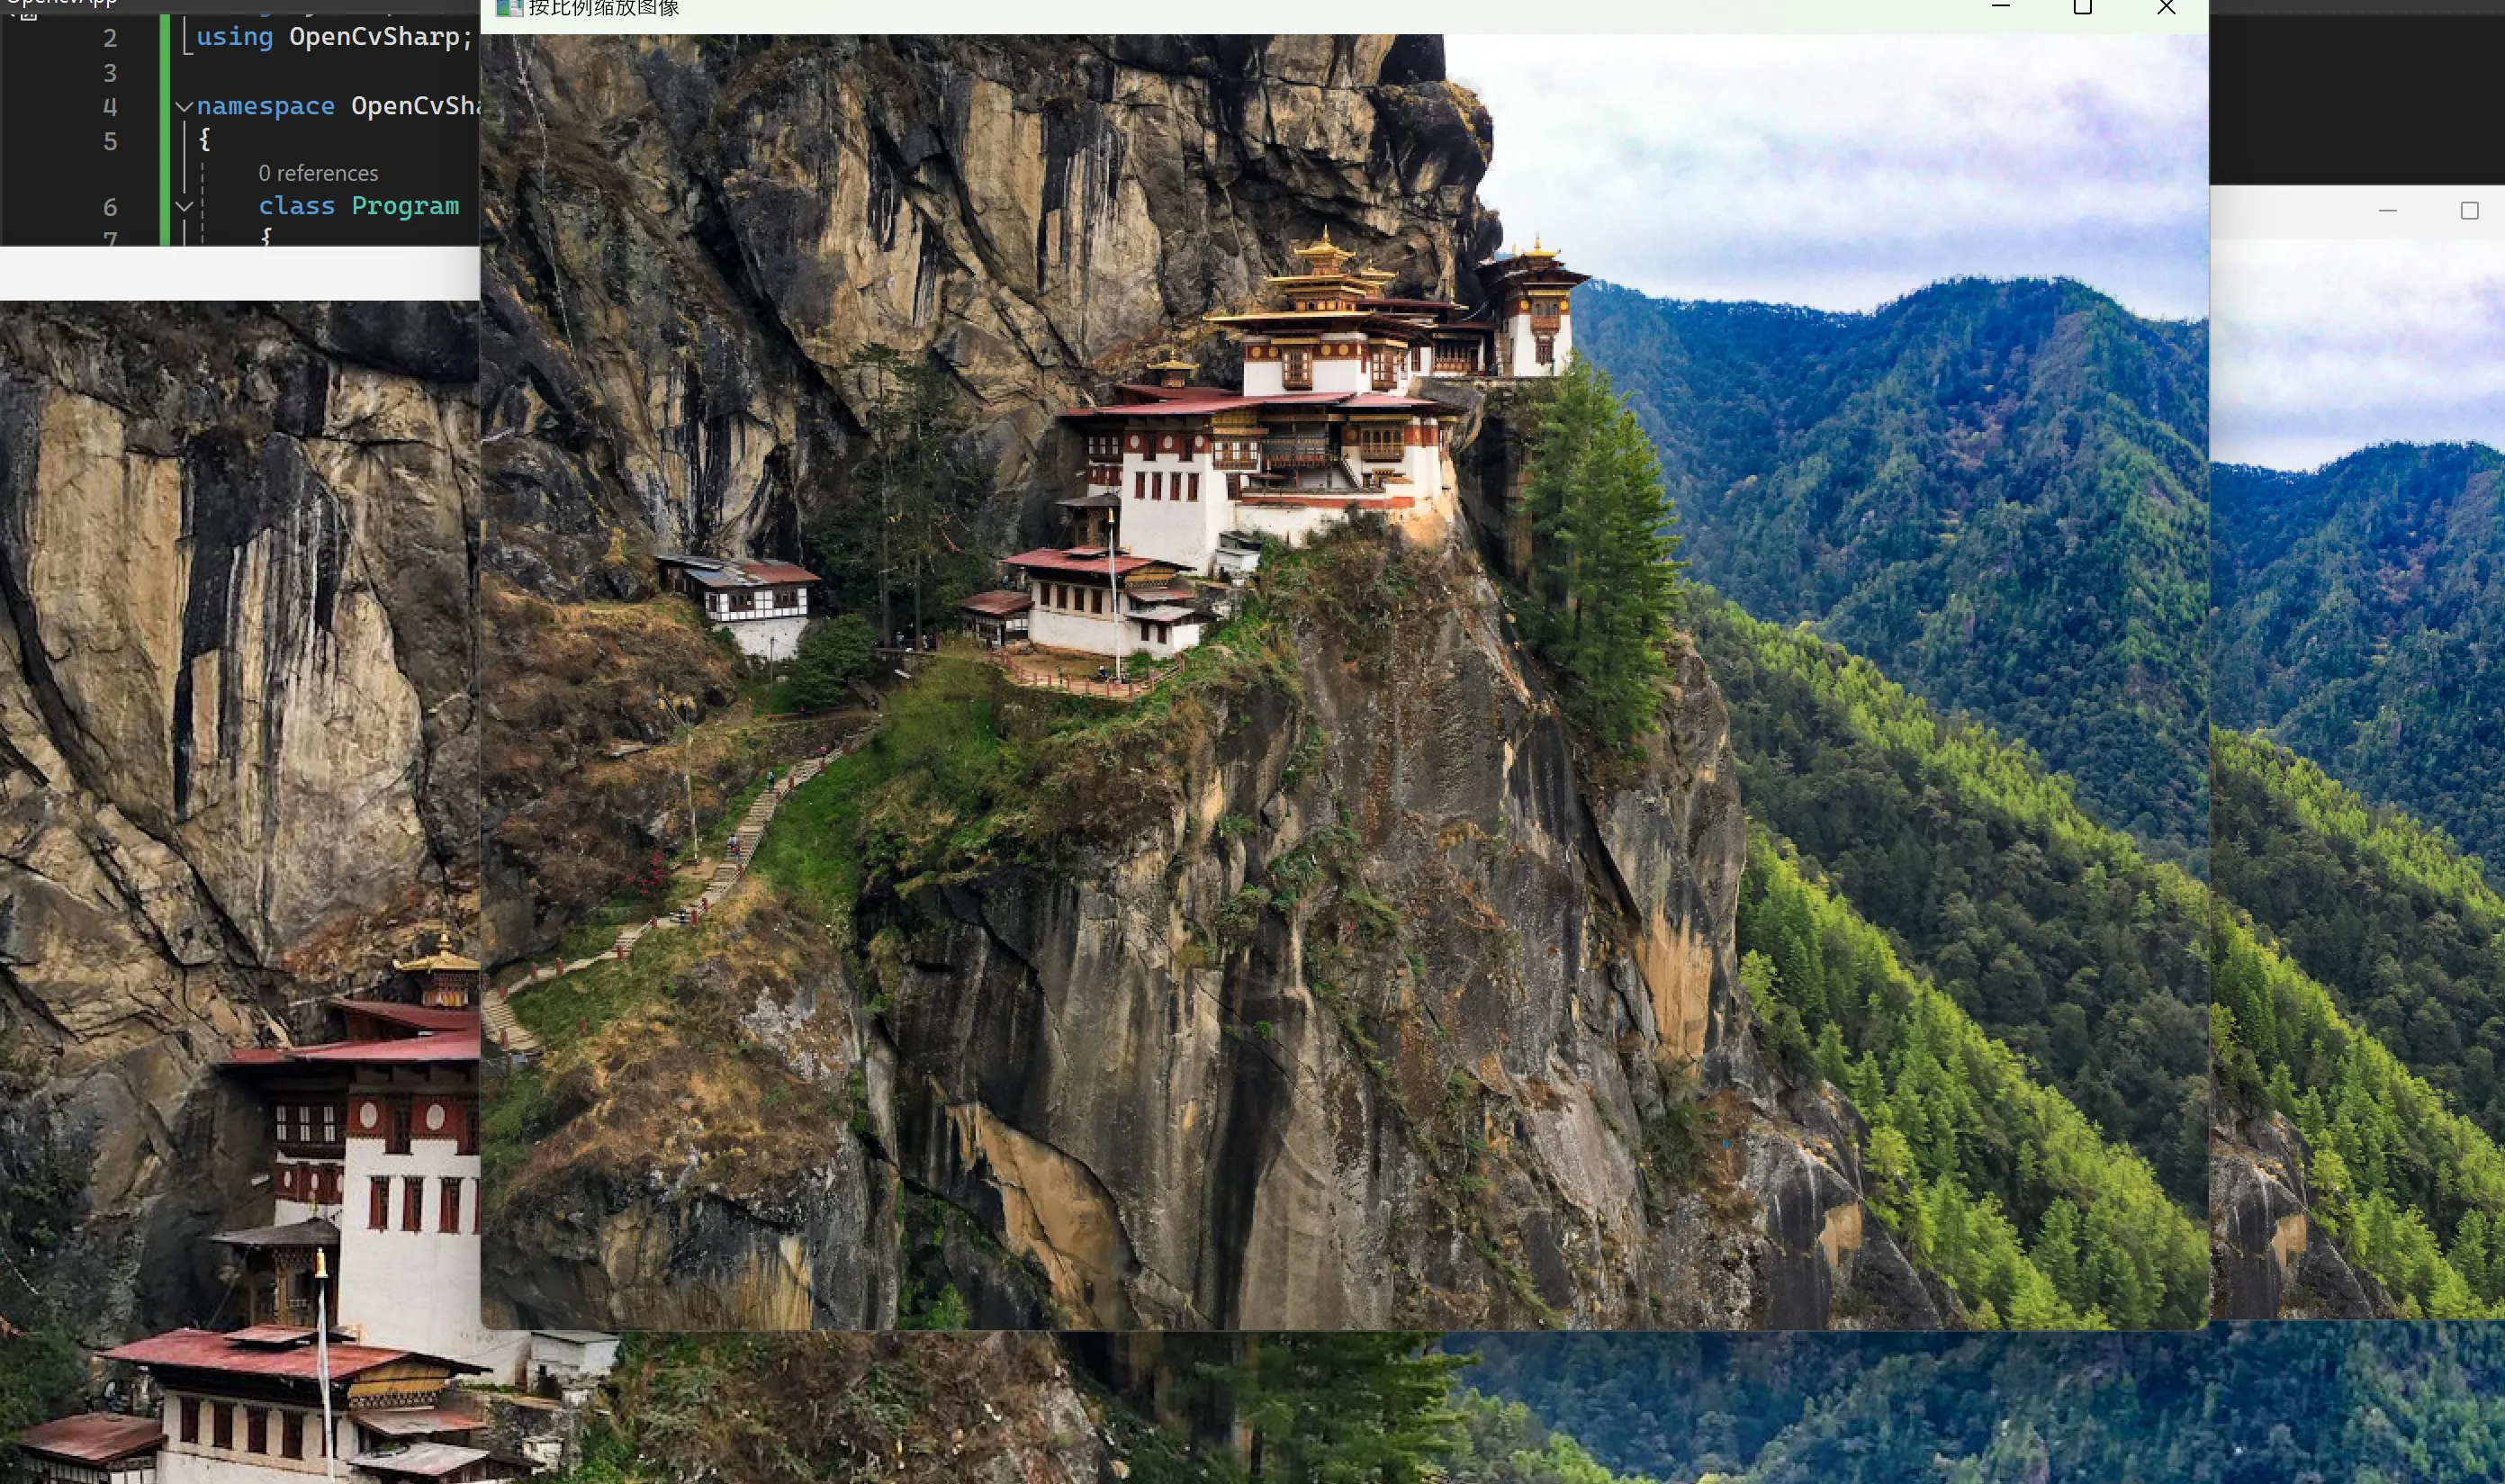
OpenCvSharp 提供了 Cv2.Resize 方法来调整图像的大小。
示例:按比例缩放和指定大小缩放
C#using System;
using OpenCvSharp;

namespace OpenCvSharpExample
{
    class Program
    {
        static void Main(string[] args)
        {
            // 读取图像
            Mat src = Cv2.ImRead("example.jpg", ImreadModes.Color);
            if (src.Empty())
            {
                Console.WriteLine("无法读取图像!");
                return;
            }

            // 按比例缩放图像
            Mat scaledImage = new Mat();
            Cv2.Resize(src, scaledImage, new Size(src.Width * 0.5, src.Height * 0.5));

            // 指定大小缩放图像
            Mat resizedImage = new Mat();
            Cv2.Resize(src, resizedImage, new Size(800, 600));

            // 显示图像
            Cv2.ImShow("原图像", src);
            Cv2.ImShow("按比例缩放图像", scaledImage);
            Cv2.ImShow("指定大小缩放图像", resizedImage);
            Cv2.WaitKey(0);

            // 释放资源
            src.Dispose();
            scaledImage.Dispose();
            resizedImage.Dispose();
            Cv2.DestroyAllWindows();
        }
    }
}
图像裁剪
裁剪图像可以使用 Mat 类的 SubMat 方法来实现。
示例:裁剪图像中心区域
C#using System;
using OpenCvSharp;

namespace OpenCvSharpExample
{
    class Program
    {
        static void Main(string[] args)
        {
            // 读取图像
            Mat src = Cv2.ImRead("example.jpg", ImreadModes.Color);
            if (src.Empty())
            {
                Console.WriteLine("无法读取图像!");
                return;
            }

            // 计算中心区域
            int cropWidth = 200;
            int cropHeight = 200;
            int x = (src.Width - cropWidth) / 2;
            int y = (src.Height - cropHeight) / 2;
            Rect roi = new Rect(x, y, cropWidth, cropHeight);

            // 裁剪图像
            Mat croppedImage = new Mat(src, roi);

            // 显示图像
            Cv2.ImShow("原图像", src);
            Cv2.ImShow("裁剪后的图像", croppedImage);
            Cv2.WaitKey(0);

            // 释放资源
            src.Dispose();
            croppedImage.Dispose();
            Cv2.DestroyAllWindows();
        }
    }
}

图像旋转
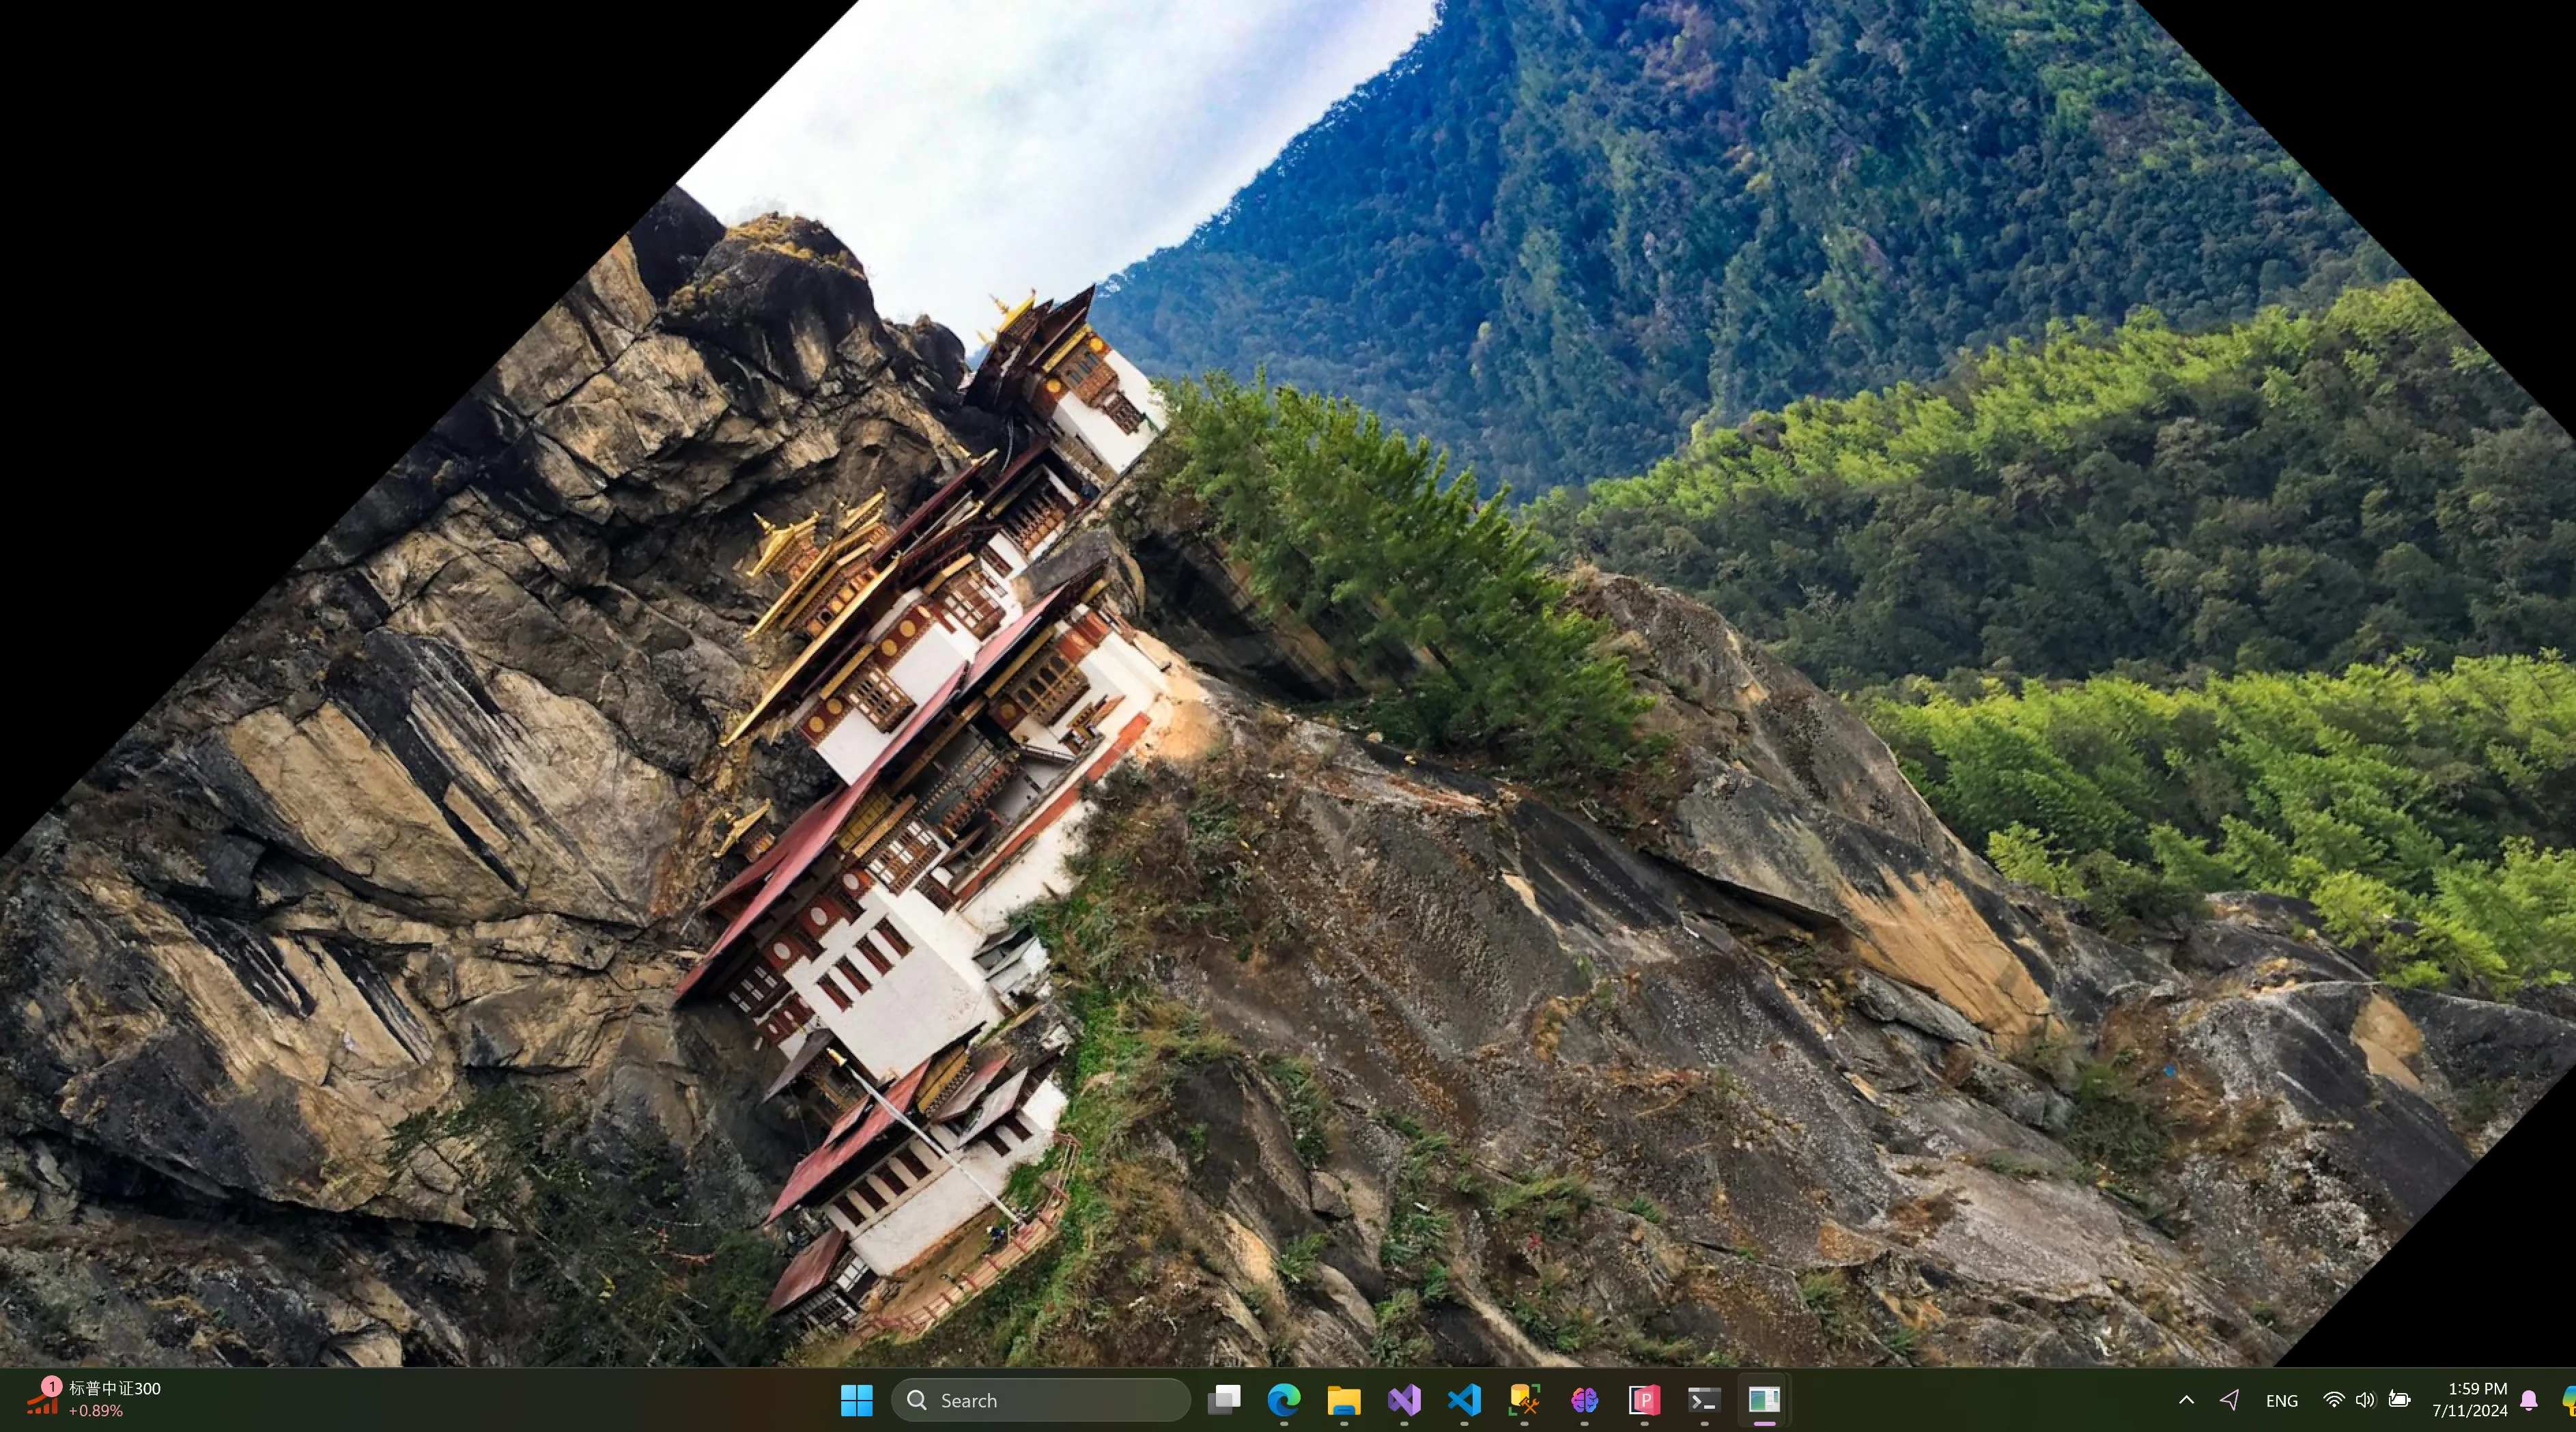
OpenCvSharp 提供了 Cv2.GetRotationMatrix2D 和 Cv2.WarpAffine 方法来旋转图像。
示例:旋转图像
C#using System;
using OpenCvSharp;

namespace OpenCvSharpExample
{
    class Program
    {
        static void Main(string[] args)
        {
            // 读取图像
            Mat src = Cv2.ImRead("example.jpg", ImreadModes.Color);
            if (src.Empty())
            {
                Console.WriteLine("无法读取图像!");
                return;
            }

            // 设置旋转中心为图像中心
            Point2f center = new Point2f(src.Width / 2, src.Height / 2);

            // 获取旋转矩阵 (旋转角度为45度,缩放比例为1)
            Mat rotationMatrix = Cv2.GetRotationMatrix2D(center, 45, 1);

            // 旋转图像
            Mat rotatedImage = new Mat();
            Cv2.WarpAffine(src, rotatedImage, rotationMatrix, new Size(src.Width, src.Height));

            // 显示图像
            Cv2.ImShow("原图像", src);
            Cv2.ImShow("旋转后的图像", rotatedImage);
            Cv2.WaitKey(0);

            // 释放资源
            src.Dispose();
            rotatedImage.Dispose();
            Cv2.DestroyAllWindows();
        }
    }
}
完整示例
以下是一个完整的示例,展示了图像的缩放、裁剪和旋转操作:
C#using System;
using OpenCvSharp;

namespace OpenCvSharpExample
{
    class Program
    {
        static void Main(string[] args)
        {
            // 读取图像
            Mat src = Cv2.ImRead("example.jpg", ImreadModes.Color);
            if (src.Empty())
            {
                Console.WriteLine("无法读取图像!");
                return;
            }

            // 按比例缩放图像
            Mat scaledImage = new Mat();
            Cv2.Resize(src, scaledImage, new Size(src.Width * 0.5, src.Height * 0.5));

            // 计算中心区域并裁剪图像
            int cropWidth = 200;
            int cropHeight = 200;
            int x = (src.Width - cropWidth) / 2;
            int y = (src.Height - cropHeight) / 2;
            Rect roi = new Rect(x, y, cropWidth, cropHeight);
            Mat croppedImage = new Mat(src, roi);

            // 设置旋转中心为图像中心并旋转图像
            Point2f center = new Point2f(src.Width / 2, src.Height / 2);
            Mat rotationMatrix = Cv2.GetRotationMatrix2D(center, 45, 1);
            Mat rotatedImage = new Mat();
            Cv2.WarpAffine(src, rotatedImage, rotationMatrix, new Size(src.Width, src.Height));

            // 显示图像
            Cv2.ImShow("原图像", src);
            Cv2.ImShow("按比例缩放图像", scaledImage);
            Cv2.ImShow("裁剪后的图像", croppedImage);
            Cv2.ImShow("旋转后的图像", rotatedImage);
            Cv2.WaitKey(0);

            // 释放资源
            src.Dispose();
            scaledImage.Dispose();
            croppedImage.Dispose();
            rotatedImage.Dispose();
            Cv2.DestroyAllWindows();
        }
    }
}
在这个示例中,我们读取了一张图像,并对其进行了缩放、裁剪和旋转操作,然后显示了原图像及其处理后的图像。
总结
通过使用 OpenCvSharp 的图像缩放、裁剪和旋转功能,我们可以轻松地进行各种基础的图像处理操作。在本文中,我们详细介绍了如何使用它们,提供了多个详细的示例。希望这些内容对你有所帮助,让你能够在 .NET 环境中高效地进行图像处理。
本文作者:rick
本文链接:
版权声明:本博客所有文章除特别声明外,均采用 BY-NC-SA 许可协议。转载请注明出处!
目录