请注意,本文编写于 173 天前,最后修改于 173 天前,其中某些信息可能已经过时。
目录
目录
简介
异型窗体是指非矩形的窗体,可以是圆形、多边形或任意不规则形状。在C#中,我们可以通过GDI+结合Windows Forms来实现各种异型窗体效果。本文将详细介绍异型窗体的实现方法和相关技巧。
基础知识
GDI+ 关键类
C#using System.Drawing;
using System.Drawing.Drawing2D;
主要用到的类:
Graphics: 用于绘制图形GraphicsPath: 定义复杂路径Region: 定义窗体形状区域
窗体透明化
要创建异型窗体,首先需要设置窗体的特定属性:
C#public partial class CustomForm : Form
{
    public CustomForm()
    {
        InitializeComponent();

        // 设置窗体样式
        this.FormBorderStyle = FormBorderStyle.None;  // 无边框
        this.BackColor = Color.White;  // 背景色
        this.TransparencyKey = Color.White;  // 透明色
    }
}
实现异型窗体的方法
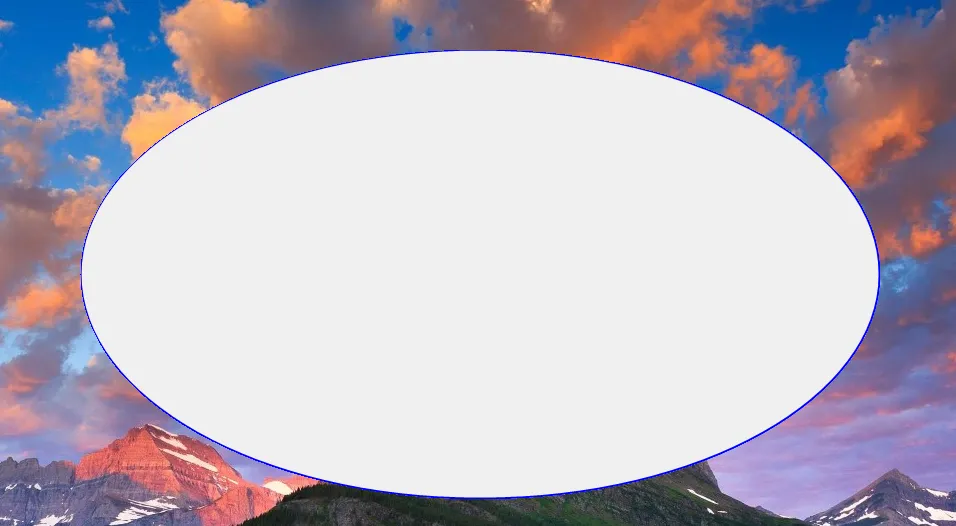
1. 圆形窗体
C#public class CircleForm : Form
{
    public CircleForm()
    {
        InitializeComponent();
        this.FormBorderStyle = FormBorderStyle.None;

        // 创建圆形路径
        GraphicsPath path = new GraphicsPath();
        path.AddEllipse(0, 0, this.Width, this.Height);

        // 设置窗体区域
        this.Region = new Region(path);

        // 添加鼠标拖动支持
        this.MouseDown += Form_MouseDown;
        this.MouseMove += Form_MouseMove;
    }

    private Point lastPoint;

    private void Form_MouseDown(object sender, MouseEventArgs e)
    {
        lastPoint = e.Location;
    }

    private void Form_MouseMove(object sender, MouseEventArgs e)
    {
        if (e.Button == MouseButtons.Left)
        {
            this.Left += e.X - lastPoint.X;
            this.Top += e.Y - lastPoint.Y;
        }
    }

    protected override void OnPaint(PaintEventArgs e)
    {
        base.OnPaint(e);

        // 使用抗锯齿
        e.Graphics.SmoothingMode = SmoothingMode.AntiAlias;

        // 绘制边框
        using (Pen pen = new Pen(Color.Blue, 2))
        {
            e.Graphics.DrawEllipse(pen, 0, 0, this.Width - 1, this.Height - 1);
        }
    }
}
2. 多边形窗体
C#public partial class StarForm : Form
{
    public StarForm()
    {
        InitializeComponent();
        this.FormBorderStyle = FormBorderStyle.None;

        // 创建五角星路径
        GraphicsPath path = CreateStarPath();
        this.Region = new Region(path);

        // 添加鼠标拖动支持
        this.MouseDown += Form_MouseDown;
        this.MouseMove += Form_MouseMove;
    }

    private Point lastPoint;

    private void Form_MouseDown(object sender, MouseEventArgs e)
    {
        lastPoint = e.Location;
    }

    private void Form_MouseMove(object sender, MouseEventArgs e)
    {
        if (e.Button == MouseButtons.Left)
        {
            this.Left += e.X - lastPoint.X;
            this.Top += e.Y - lastPoint.Y;
        }
    }

    private GraphicsPath CreateStarPath()
    {
        PointF[] points = new PointF[10];
        float rx = this.Width / 2;
        float ry = this.Height / 2;

        // 调整外圆半径,确保星形在窗体内完全显示
        float outerRadius = Math.Min(rx, ry) * 0.95f; // 留出一些边距
        float innerRadius = outerRadius * 0.4f;  // 内圆半径

        for (int i = 0; i < 10; i++)
        {
            double angle = i * Math.PI / 5 - Math.PI / 2; // 从顶部开始绘制
            if (i % 2 == 0)
            {
                points[i] = new PointF(
                    (float)(rx + outerRadius * Math.Cos(angle)),
                    (float)(ry + outerRadius * Math.Sin(angle))
                );
            }
            else
            {
                points[i] = new PointF(
                    (float)(rx + innerRadius * Math.Cos(angle)),
                    (float)(ry + innerRadius * Math.Sin(angle))
                );
            }
        }

        GraphicsPath path = new GraphicsPath();
        path.AddPolygon(points);
        return path;
    }

    protected override void OnPaint(PaintEventArgs e)
    {
        base.OnPaint(e);
        e.Graphics.SmoothingMode = SmoothingMode.AntiAlias;

        using (Pen pen = new Pen(Color.Red, 2))
        {
            e.Graphics.DrawPath(pen, CreateStarPath());
        }
    }
}
3. 图片形状窗体
C#using System;
using System.Drawing;
using System.Drawing.Drawing2D;
using System.Drawing.Imaging;
using System.Windows.Forms;
using System.Runtime.InteropServices;

namespace AppWindows
{
    public partial class ImageShapeForm : Form
    {
        private Image sourceImage;
        private Point lastPoint;  // 用于记录鼠标位置

        // 引入Windows API
        [DllImport("user32.dll")]
        public static extern int SendMessage(IntPtr hWnd, int Msg, int wParam, int lParam);
        [DllImport("user32.dll")]
        public static extern bool ReleaseCapture();

        public ImageShapeForm()
        {
            InitializeComponent();
            this.FormBorderStyle = FormBorderStyle.None;

            // 加载图片并设置窗体大小
            sourceImage = Image.FromFile("dkk2p1ys2.png");
            this.Size = sourceImage.Size;

            // 创建基于图片透明度的区域
            this.Region = CreateRegionFromImage(sourceImage);

            // 设置窗体属性
            this.ShowInTaskbar = true;
            this.TopMost = true;

            // 绑定鼠标事件
            this.MouseDown += ImageShapeForm_MouseDown;
        }

        private Region CreateRegionFromImage(Image image)
        {
            Bitmap bitmap = new Bitmap(image);
            Region region = new Region();
            GraphicsPath path = new GraphicsPath();

            // 扫描图片像素,创建区域
            for (int y = 0; y < bitmap.Height; y++)
            {
                for (int x = 0; x < bitmap.Width; x++)
                {
                    Color pixel = bitmap.GetPixel(x, y);
                    if (pixel.A > 128) // 半透明以上的像素
                    {
                        path.AddRectangle(new Rectangle(x, y, 1, 1));
                    }
                }
            }

            region = new Region(path);
            bitmap.Dispose(); // 释放位图资源
            path.Dispose();   // 释放路径资源
            return region;
        }

        protected override void OnPaint(PaintEventArgs e)
        {
            base.OnPaint(e);
            e.Graphics.DrawImage(sourceImage, 0, 0);
        }

        // 处理窗口拖动
        private void ImageShapeForm_MouseDown(object sender, MouseEventArgs e)
        {
            if (e.Button == MouseButtons.Left)
            {
                const int WM_NCLBUTTONDOWN = 0xA1;
                const int HT_CAPTION = 0x2;

                ReleaseCapture();
                SendMessage(Handle, WM_NCLBUTTONDOWN, HT_CAPTION, 0);
            }
        }

        // 在窗体关闭时释放资源
        protected override void OnFormClosing(FormClosingEventArgs e)
        {
            base.OnFormClosing(e);
            if (sourceImage != null)
            {
                sourceImage.Dispose();
            }
        }
    }
}

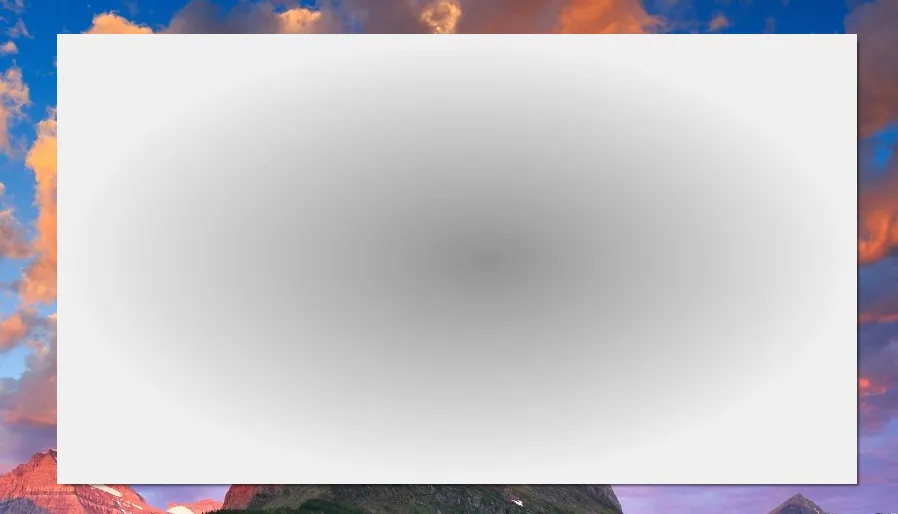
4.添加阴影效果
C#using System;
using System.Collections.Generic;
using System.ComponentModel;
using System.Data;
using System.Drawing;
using System.Drawing.Drawing2D;
using System.Linq;
using System.Text;
using System.Threading.Tasks;
using System.Windows.Forms;

namespace AppWindows
{
    public partial class ShadowForm : Form
    {
        private const int SHADOW_SIZE = 5;
        private bool isDragging = false;      // 标记是否正在拖动
        private Point lastMousePos;           // 记录鼠标位置

        public ShadowForm()
        {
            InitializeComponent();
            this.FormBorderStyle = FormBorderStyle.None;

            // 添加鼠标事件处理
            this.MouseDown += ShadowForm_MouseDown;
            this.MouseMove += ShadowForm_MouseMove;
            this.MouseUp += ShadowForm_MouseUp;
        }

        // 鼠标按下事件处理
        private void ShadowForm_MouseDown(object sender, MouseEventArgs e)
        {
            if (e.Button == MouseButtons.Left)
            {
                isDragging = true;
                lastMousePos = e.Location;
            }
        }

        // 鼠标移动事件处理
        private void ShadowForm_MouseMove(object sender, MouseEventArgs e)
        {
            if (isDragging)
            {
                int deltaX = e.X - lastMousePos.X;
                int deltaY = e.Y - lastMousePos.Y;

                // 更新窗体位置
                this.Location = new Point(this.Location.X + deltaX, this.Location.Y + deltaY);
            }
        }

        // 鼠标释放事件处理
        private void ShadowForm_MouseUp(object sender, MouseEventArgs e)
        {
            if (e.Button == MouseButtons.Left)
            {
                isDragging = false;
            }
        }

        protected override CreateParams CreateParams
        {
            get
            {
                CreateParams cp = base.CreateParams;
                cp.ClassStyle |= 0x20000;
                return cp;
            }
        }

        protected override void OnPaint(PaintEventArgs e)
        {
            base.OnPaint(e);

            // 绘制阴影
            using (GraphicsPath path = new GraphicsPath())
            {
                path.AddEllipse(SHADOW_SIZE, SHADOW_SIZE,
                    this.Width - SHADOW_SIZE * 2,
                    this.Height - SHADOW_SIZE * 2);

                using (PathGradientBrush brush = new PathGradientBrush(path))
                {
                    brush.CenterColor = Color.FromArgb(100, 0, 0, 0);
                    brush.SurroundColors = new Color[] { Color.Transparent };
                    e.Graphics.FillPath(brush, path);
                }
            }
        }
    }
}
注意事项
- 性能优化
- 避免在高频率事件中重复创建
GraphicsPath和Region - 使用双缓冲避免闪烁:
- 避免在高频率事件中重复创建
C#this.SetStyle(ControlStyles.AllPaintingInWmPaint |
              ControlStyles.UserPaint |
              ControlStyles.DoubleBuffer, true);
- 内存管理
- 及时释放 GDI+ 对象:
C#protected override void Dispose(bool disposing)
{
    if (disposing)
    {
        if (currentPath != null)
            currentPath.Dispose();
        if (components != null)
            components.Dispose();
    }
    base.Dispose(disposing);
}
- 兼容性考虑
- 在高DPI显示器上注意缩放问题
- 考虑不同Windows版本的兼容性
总结
异型窗体的开发需要结合GDI+的图形处理能力和Windows Forms的窗体特性。通过合理使用GraphicsPath和Region,我们可以创建出各种独特的窗体形状。在实际应用中,需要注意性能优化和资源管理,同时要考虑用户体验和系统兼容性。
上述示例代码展示了从基础到进阶的异型窗体实现方法,开发者可以根据实际需求进行调整和扩展。记住要合理处理用户交互,确保窗体的可用性不受形状的影响。
本文作者:rick
本文链接:
版权声明:本博客所有文章除特别声明外,均采用 BY-NC-SA 许可协议。转载请注明出处!
目录