
作为一名C#开发者,当你初次接触Java时,是否会有种"似曾相识却又处处不同"的感觉?特别是在类与对象的声明方式上,两种语言看似相近,实则暗藏玄机。
今天就来深入对比Java与C#在类与对象声明和访问修饰符方面的核心差异,帮你快速避开转型路上的常见陷阱,让代码写得更地道、更高效!
🎯 问题分析:为什么会"水土不服"?
核心痛点识别
许多C#开发者在转Java时会遇到这些困扰:
- 文件组织方式:一个文件只能有一个public类?
- 访问修饰符:为什么没有internal?default又是什么鬼?
- 构造函数:语法相似但细节差异让人头疼
- 属性访问:getter/setter的冗长写法让人怀念C#的属性语法 (你能狠死Java)
💡 解决方案:5个关键对比点
🔥 文件组织与类声明差异
C#的灵活性
C#// PersonManager.cs - 一个文件可以包含多个public类
namespace MyApp.Models
{
    public class Person
    {
        public string Name { get; set; }
        public int Age { get; set; }
    }

    public class PersonManager
    {
        public void ProcessPerson(Person person) { }
    }

    internal class Helper
    {
        // internal类,程序集内可访问
    }
}
这种写法也不应该全堆一起,即使写这样,也是有最小规则与相关
Java的严格规则
Javapackage org.example;

public class Person {
    private String name;
    private int age;

    // 构造函数
    public Person(String name, int age) {
        this.name = name;
        this.age = age;
    }

    // getter/setter方法
    public String getName() { return name; }
    public void setName(String name) { this.name = name; }
    public int getAge() { return age; }
    public void setAge(int age) { this.age = age; }
}

// 同一文件中的其他类只能是package-private
class Helper {
    // 包级访问权限
}
⚠️ 常见坑点提醒
- Java中,一个文件只能有一个public类,且文件名必须与类名完全一致
- package语句必须是文件的第一行非注释代码
- 类名采用PascalCase,但包名全小写(与C#命名空间不同)
🔥 访问修饰符对比表
| 访问级别 | C# | Java | 适用范围 |
|---|---|---|---|
| 最严格 | private | private | 类内部 |
| 程序集内 | internal | (package-private) | C#:程序集 / Java:包 |
| 继承可见 | protected | protected | 子类 |
| 完全公开 | public | public | 所有地方 |
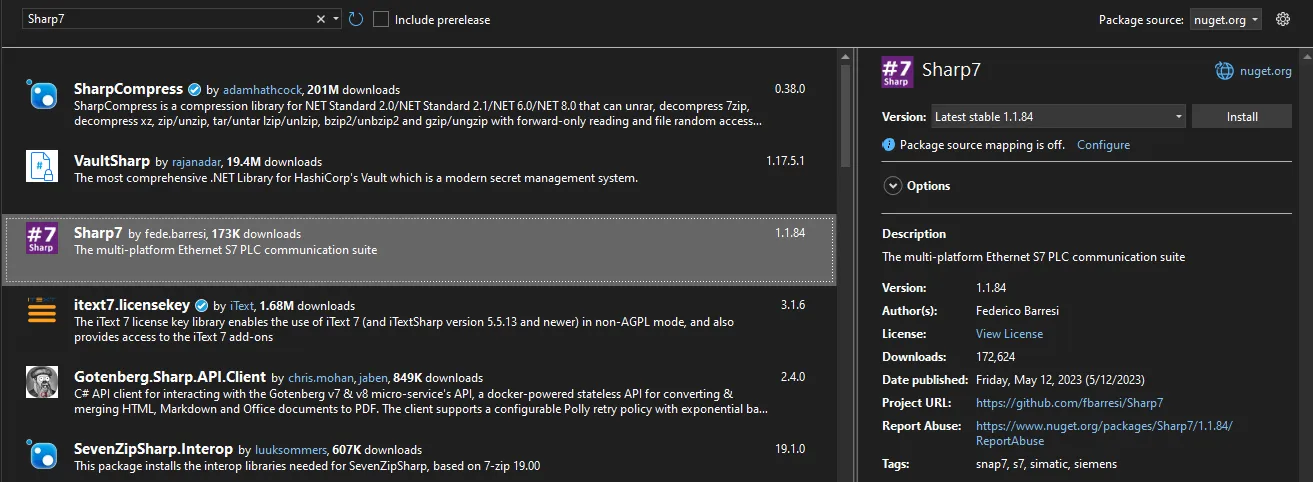
Sharp7是一个基于C#的开源库,用于与西门子S7系列PLC进行通讯。本文将详细介绍如何使用Sharp7库,实现对PLC的数据读写操作,并提供多个完整的示例代码,帮助您快速上手。
一、Sharp7简介
Sharp7是由Daniel Molteni开发的用于.NET平台的西门子S7通讯库。它实现了S7协议的功能,支持读取和写入PLC中的数据块、输入输出、标志位等。该库轻量、易用,非常适合需要与西门子PLC进行通讯的C#开发者。
二、环境搭建
1. 安装Sharp7
您可以通过以下方式获取Sharp7库:
- 从GitHub仓库下载源代码并编译。
HTMLhttps://github.com/fbarresi/Sharp7
- 使用NuGet包管理器安装(如果有提供的话)。
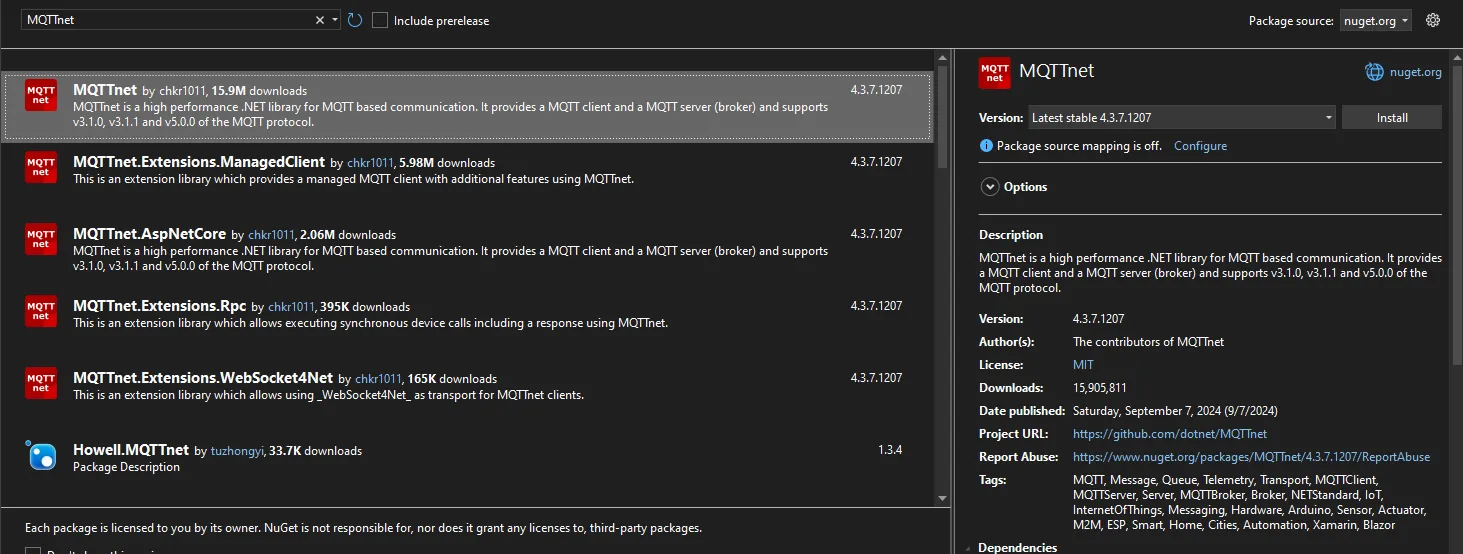
MQTT(Message Queuing Telemetry Transport)是一种轻量级的发布/订阅消息传输协议,广泛应用于物联网领域。本文将详细介绍如何使用C#中的MQTTnet库来实现MQTT客户端,包括连接、订阅、发布等功能,并提供完整的示例代码。
MQTTnet简介
MQTTnet是一个基于C#实现的高性能MQTT客户端和服务器库,支持MQTT v3.1.1和v5.0协议版本。它提供了丰富的功能,包括同步和异步操作、消息拦截、日志记录等,适用于各种开发场景。
安装MQTTnet
在开始之前,确保您的项目已安装MQTTnet库。您可以通过NuGet包管理器安装:
BashInstall-Package MQTTnet
或者使用Dotnet CLI:
Bashdotnet add package MQTTnet
引言
OPC UA(统一架构)是一种适用于工业自动化的跨平台、可扩展且安全的通信协议。它提供了从工厂车间设备到企业管理层之间的可靠数据交换。随着.NET Standard的出现,开发人员可以使用C#构建跨平台的OPC UA客户端应用程序。
本文将详细介绍如何使用C#和OPC UA .NET Standard库创建OPC UA客户端应用程序,包括多个示例代码,帮助您深入理解客户端的实现方式。
开发环境配置
在开始编写代码之前,请确保您的开发环境中已安装以下工具:
- Visual Studio 2019 或更高版本(可选,您也可以使用Visual Studio Code)
- .NET Core SDK(用于跨平台开发)
- OPC Foundation的OPC UA .NET Standard库
安装OPC UA .NET Standard库
在您的项目中,使用NuGet包管理器安装OPC UA .NET Standard库:
BashInstall-Package OPCFoundation.NetStandard.Opc.Ua
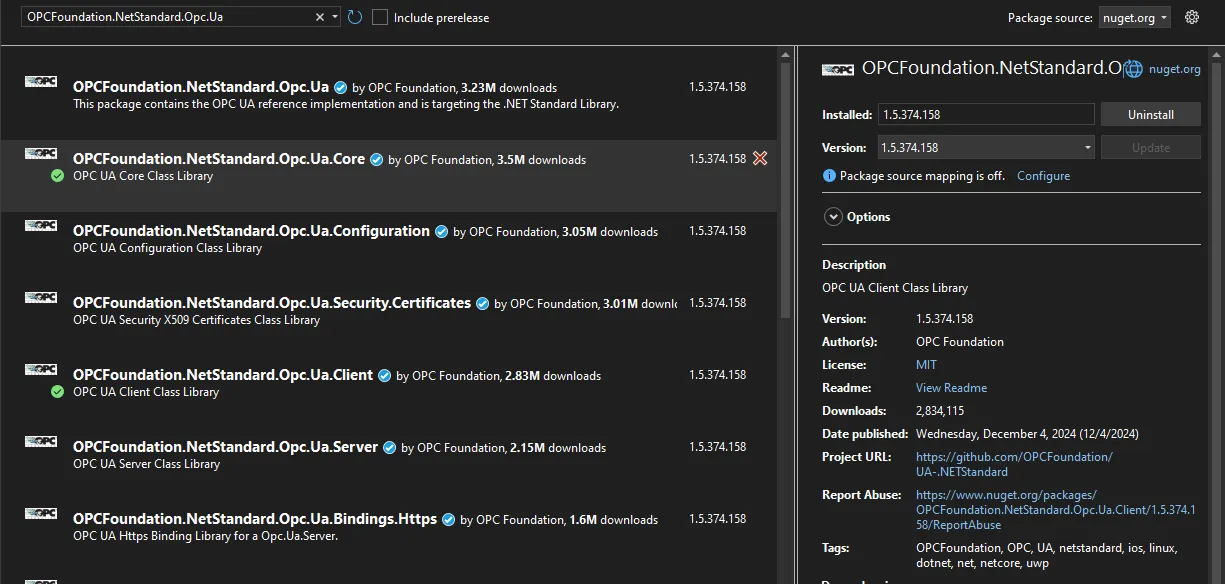
或者,您可以在项目的.csproj文件中添加以下依赖项:
XML<PackageReference Include="OPCFoundation.NetStandard.Opc.Ua" Version="1.4.365.48" />
工业4.0和物联网时代,OPC UA (OPC Unified Architecture) 已成为工业自动化和设备通信的标准协议。本文将深入探讨如何在.NET环境中实现可靠的OPC UA通信,通过一个功能完备的OPC UA客户端库及其测试程序,展示工业环境下数据采集、监控和控制的实现方法。
OPC UA简介
OPC UA是一种独立于平台的、面向服务的架构,用于工业自动化领域的数据交换。它具有以下特点:
- 平台无关性:可在各种硬件平台和操作系统上运行
- 安全性:提供认证、授权和加密机制
- 统一数据模型:提供完整的信息模型,表示复杂系统和关系
- 可扩展性:支持从简单设备到复杂系统的多种应用场景
OpcUaService类设计与实现
我们设计的OpcUaService类是对OPC UA客户端操作的封装,提供了以下核心功能: